


 |
|
 |
|


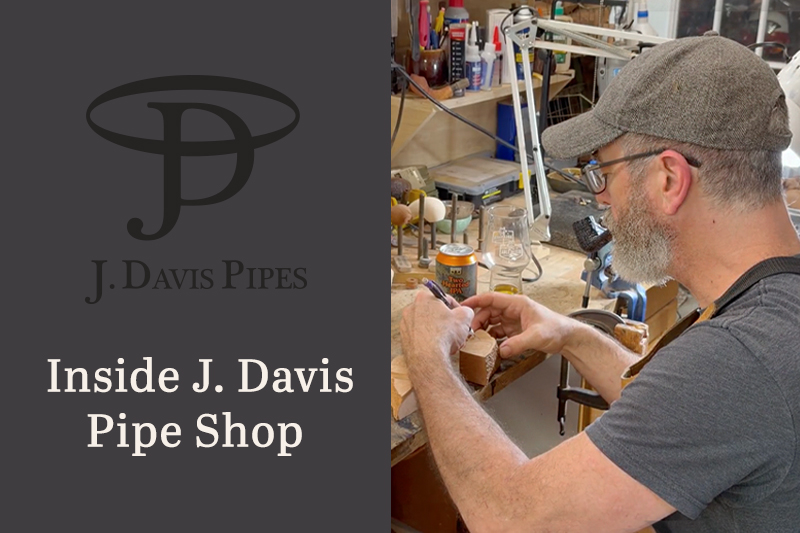
Recently I had the pleasure of visiting one of the grandfathers of modern American pipe making and a good friend of mine, Jody Davis, in his shop. While we were hanging out, naturally I had some questions for him about his start in pipe making, his general philosophy about it, and how his career and pipe making have evolved in the many years that he's been in the business.
Note: The following transcription has been edited for clarity and brevity.
Jody's Pipe-Making Background
[Jody Davis]: It all started when I was living in Nashville. I had been making pipes for a few years, and Todd Johnson just moved back to town, 'cause he was from there, and he had been to Tom Eltang's place. Somehow he got ahold of some spoon bits for doing tobacco chambers.
Remember, there wasn't a supplier back then; you had to make everything or have it made, so to get that kind of stuff was a big deal. It was really rare, and nobody in the US did it. And he was like, "Hey, I'm going on vacation for a couple weeks. You want to borrow these bits?" He came by and dropped them off and said, "You just do this," and half told me how to use it. I just jumped in and started doing it. I think I was doing it backwards too, actually, at first, but it worked out.
Not long after that, I had some bits made. What really solidified the whole thing was when I went and stayed with Lars Ivarsson for a little bit. Of course, that's how he does everything; his way was crazy. I'll glue these little pieces on, and I have a very fine point in my tailstock, and that gives you the direction and everything. Lars just had this piece of wood that fit in his tailstock that came to a point, and he just held it there. I'm like, "How in the world are you ever... How do you make that work?" I think I tried it there, and I ended up messing up a mortise once. I don't know how you accurately do it that way, but of course he did, and I don't know, Nanna may still do it the same way. In a lot of ways, I found my footing making it up as I went along.
Jody's Pipe-Making Process
[Shane Ireland]: Now that we've heard a little bit from Jody, let's go through part of his pipe-making process. The very first thing he'll do is select the piece of briar he'd like to work with. Whether he has a shape in mind and he's trying to find the block that will best work with that shape, or whether he's looking for inspiration, this is where it all begins.
Once the block is selected, he begins to sketch out the idea of the shape on the side. This is the profile of the shape, which will serve as a template and a guideline while he does his initial shaping. Since he'll be drilling second and shaping first, he won't be married to this exact position in the block, but rather he'll be able to move around with the grain, follow the grain, see what the wood has to offer, and even address any potential flaws that arise.
Once the idea of the shape is sketched on the block, he'll take it to the French wheel. In the beginning on the French wheel, he'll be using a really aggressive grit. This will remove lots of material with each pass. As the shaping progresses, the details are refined. He'll then move to a finer grit wheel, which will remove less material and allow a little bit more control over the shaping. This is where things slow down a little bit and the shape is refined.
Finally, he'll use the finest grit to remove the tool marks from the previous grits and to refine the shape until its final form is realized. Spraying water on the stummel allows him to see the grain and make sure he's following the grain according to the shape and that he's maximizing. He'll then draw lines on the shape, putting it into a cross-section, which allows him to prepare it for drilling.
The first step is drilling the mortise. This is all done freehand rather than the block being fixed into the machine, followed by the airway. Once the airway and mortise are set and the pilot hole for the chamber is drilled, it's time to work on the chamber. This is done in several steps to ensure accuracy and to prevent any sort of charring. Briar is such a hard wood and it can be hard on the tooling. Taking several passes at larger and larger diameters, and then finally with the spoon bit he will carve the profile of the finalized chamber.
He will then face off the end of the shank and prepare it for an accent. If he's sandblasting, the finish is revealed after some time in the blasting cabinet, and then the first coats of stain will be applied.
I want to thank Jody for taking the time to sit down with us and give us a little bit of his lore and show us a little bit of his process. It was a pleasure as always.


You may also enjoy:




Comments